1 / 1
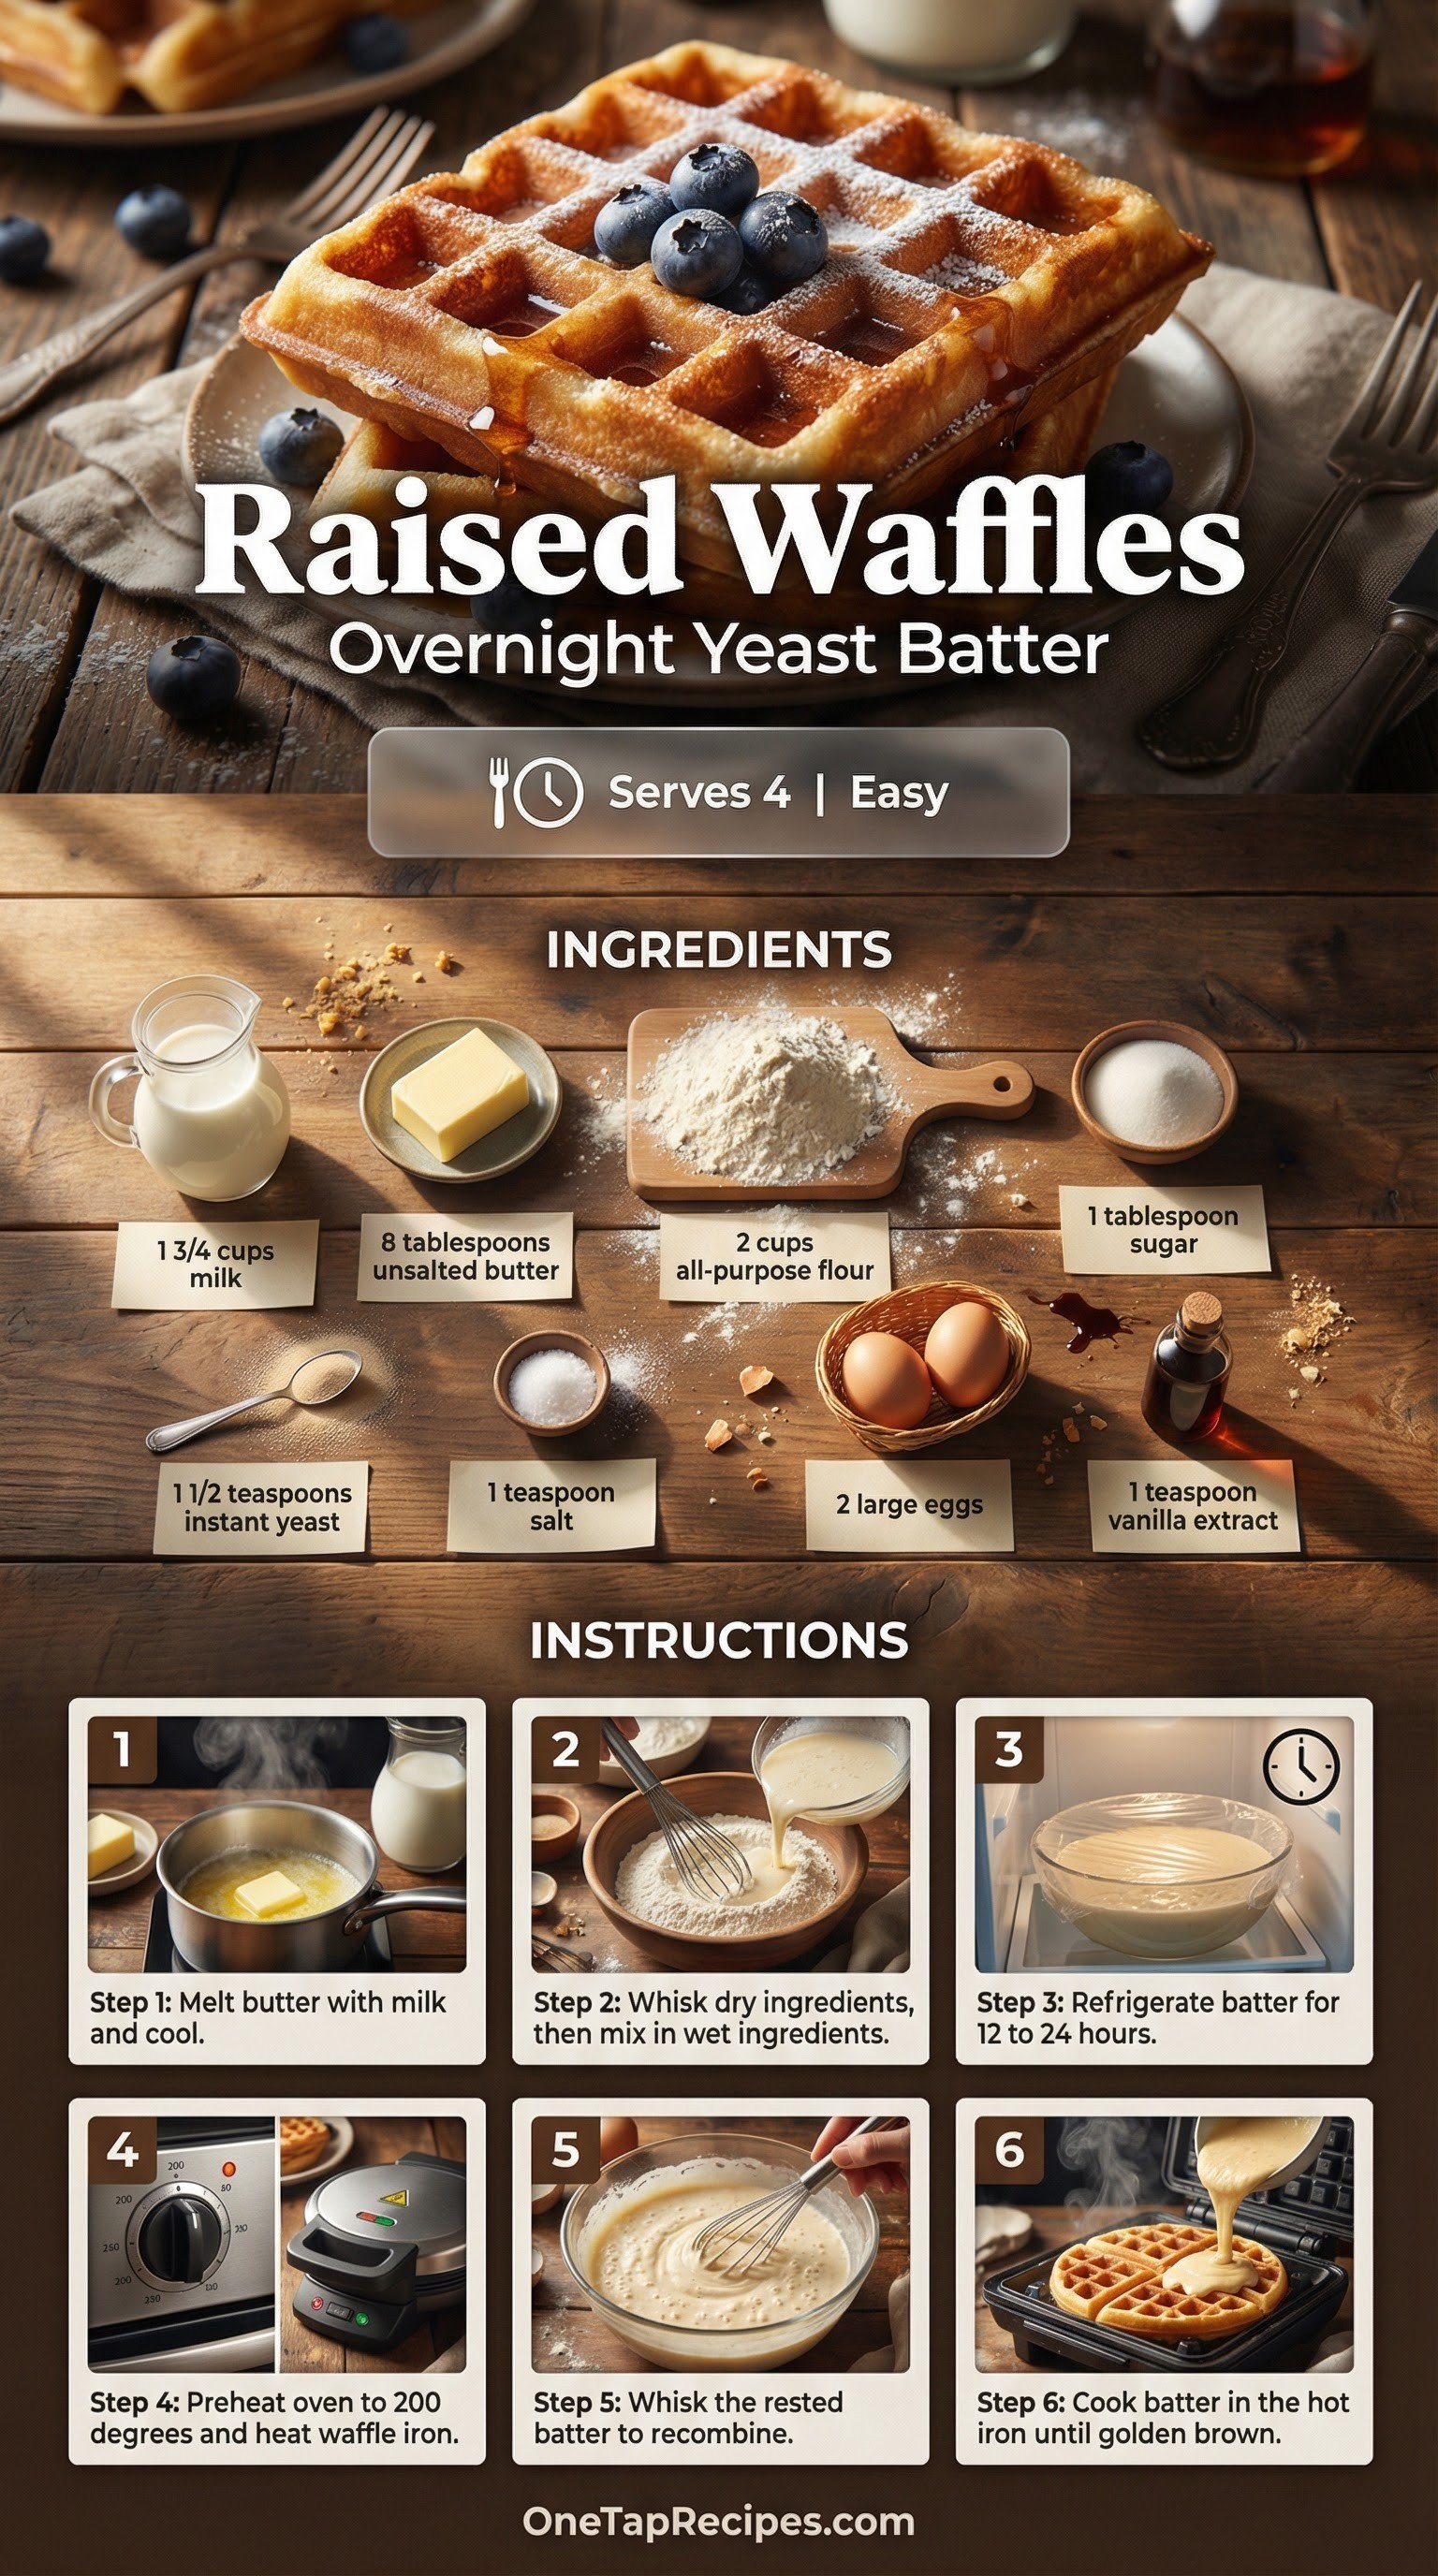
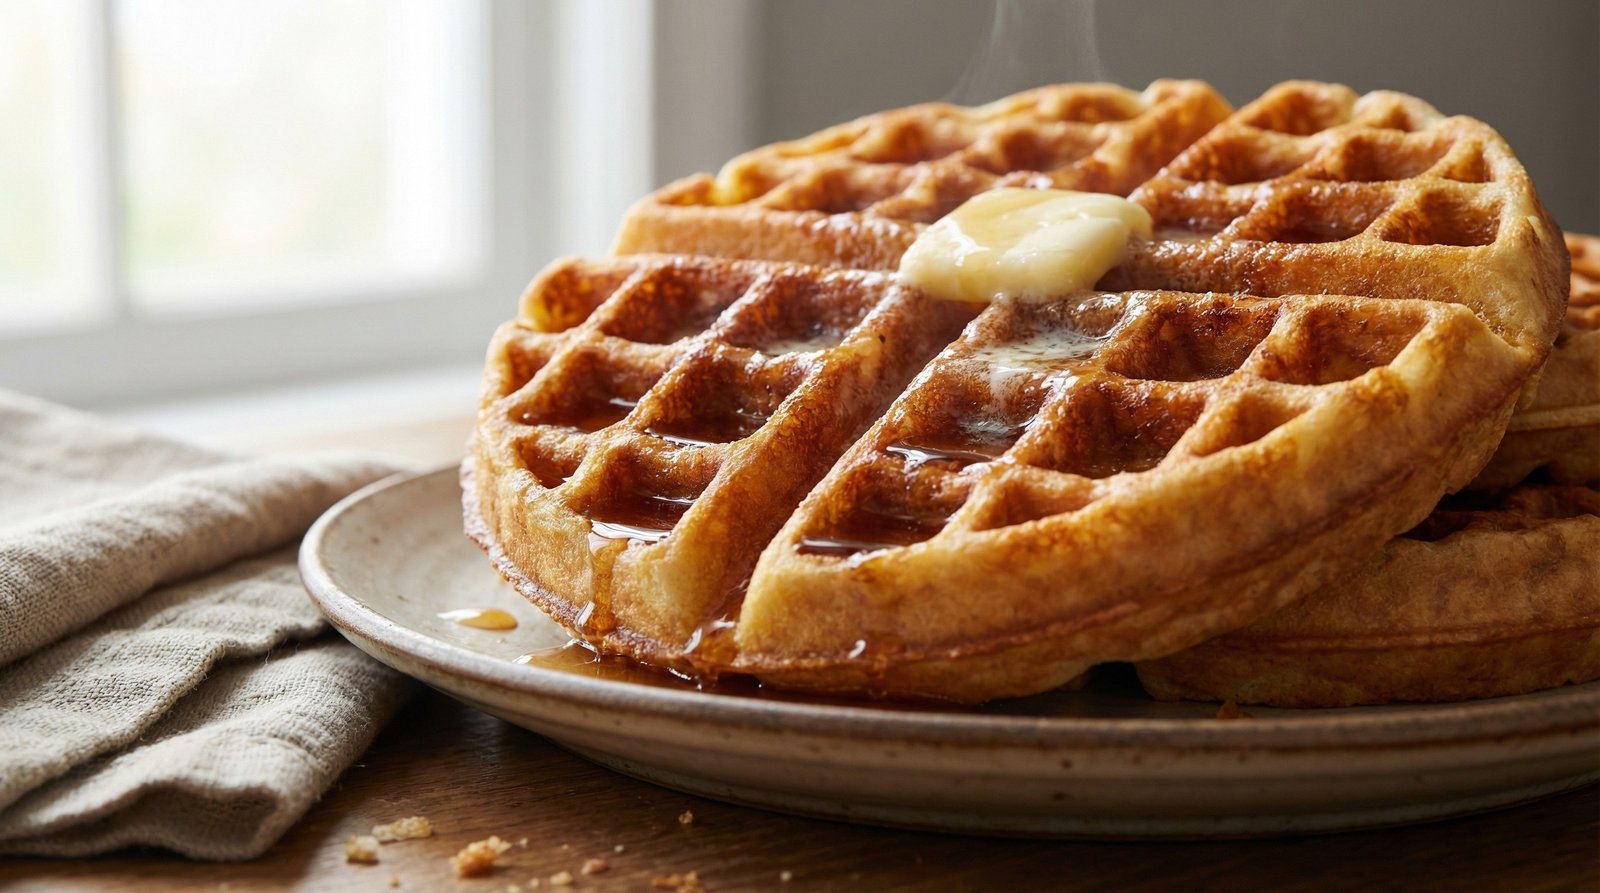
Crispy Overnight Yeast Waffles
Warm milk and melted butter go into the batter the night before, along with instant yeast, flour, sugar, and salt — the whole thing takes about ten minutes to mix and then sits in the fridge overnight. By morning the batter is bubbly and slightly tangy, with a depth of flavor that same-day baking powder batters never develop. Two eggs and a teaspoon of vanilla stir in right before cooking. The result is a waffle with a genuinely crisp shell that holds up under maple syrup without turning soggy.
Equipment
- Stovetop
- Saucepan
- Oven
Ingredients
- 1¾ cups milk
- 8 tablespoons unsalted butter, cut into 8 pieces
- 2 cups (10 ounces) all-purpose flour
- 1 tablespoon sugar
- 1½ teaspoons instant or rapid-rise yeast
- 1 teaspoon salt
- 2 large eggs
- 1 teaspoon vanilla extract
Instructions
- 1Warm the milk and butter in a small saucepan over medium-low heat for 3 to 5 minutes until the butter melts completely. Set the pan aside and let the liquid cool until it's just warm to the touch.
- 2Whisk the all-purpose flour, sugar, instant yeast, and salt together in a large bowl. In a separate smaller bowl, whisk the eggs and vanilla extract.
- 3Gradually pour the warm milk mixture into the dry ingredients, whisking constantly to prevent lumps. Stir in the beaten egg mixture until the batter is completely smooth.
- 4Scrape down the sides of the bowl with a rubber spatula. Cover tightly with plastic wrap and refrigerate for 12 to 24 hours. The long, slow chill allows the yeast to develop a deeper flavor.
- 5When you're ready to cook, preheat your oven to 200 degrees and arrange a rack in the middle position. Place a wire cooling rack inside a rimmed baking sheet and set it in the oven to keep the finished waffles warm.
- 6Heat your waffle iron according to the manufacturer's instructions. Take the rested batter out of the refrigerator. It'll be foamy and doubled in size.
- 7Gently whisk the batter to recombine it. Don't worry when the mixture deflates, as that's completely normal.
- 8Coat the hot waffle iron lightly with vegetable oil spray. Pour about 2/3 cup of batter onto the center and close the lid.
- 9Cook for 4 to 6 minutes until the waffle is crisp, firm, and golden brown. Transfer it to the warm oven rack and repeat the process with the remaining batter, spraying the iron with more oil as needed.
Notes
- Make ahead: The batter must rest for at least 12 hours, making it an excellent option to prep the night before a weekend breakfast.
- Storage: Keep leftover cooked waffles in an airtight container in the refrigerator for up to 3 days, or freeze them for up to 2 months.
- Reheat: Pop chilled or frozen waffles directly into a toaster to restore their crisp exterior.
- Tip: Make sure the milk mixture isn't too hot before adding it to the dry ingredients, or it'll kill the yeast. It should feel like warm bath water.