1 / 1
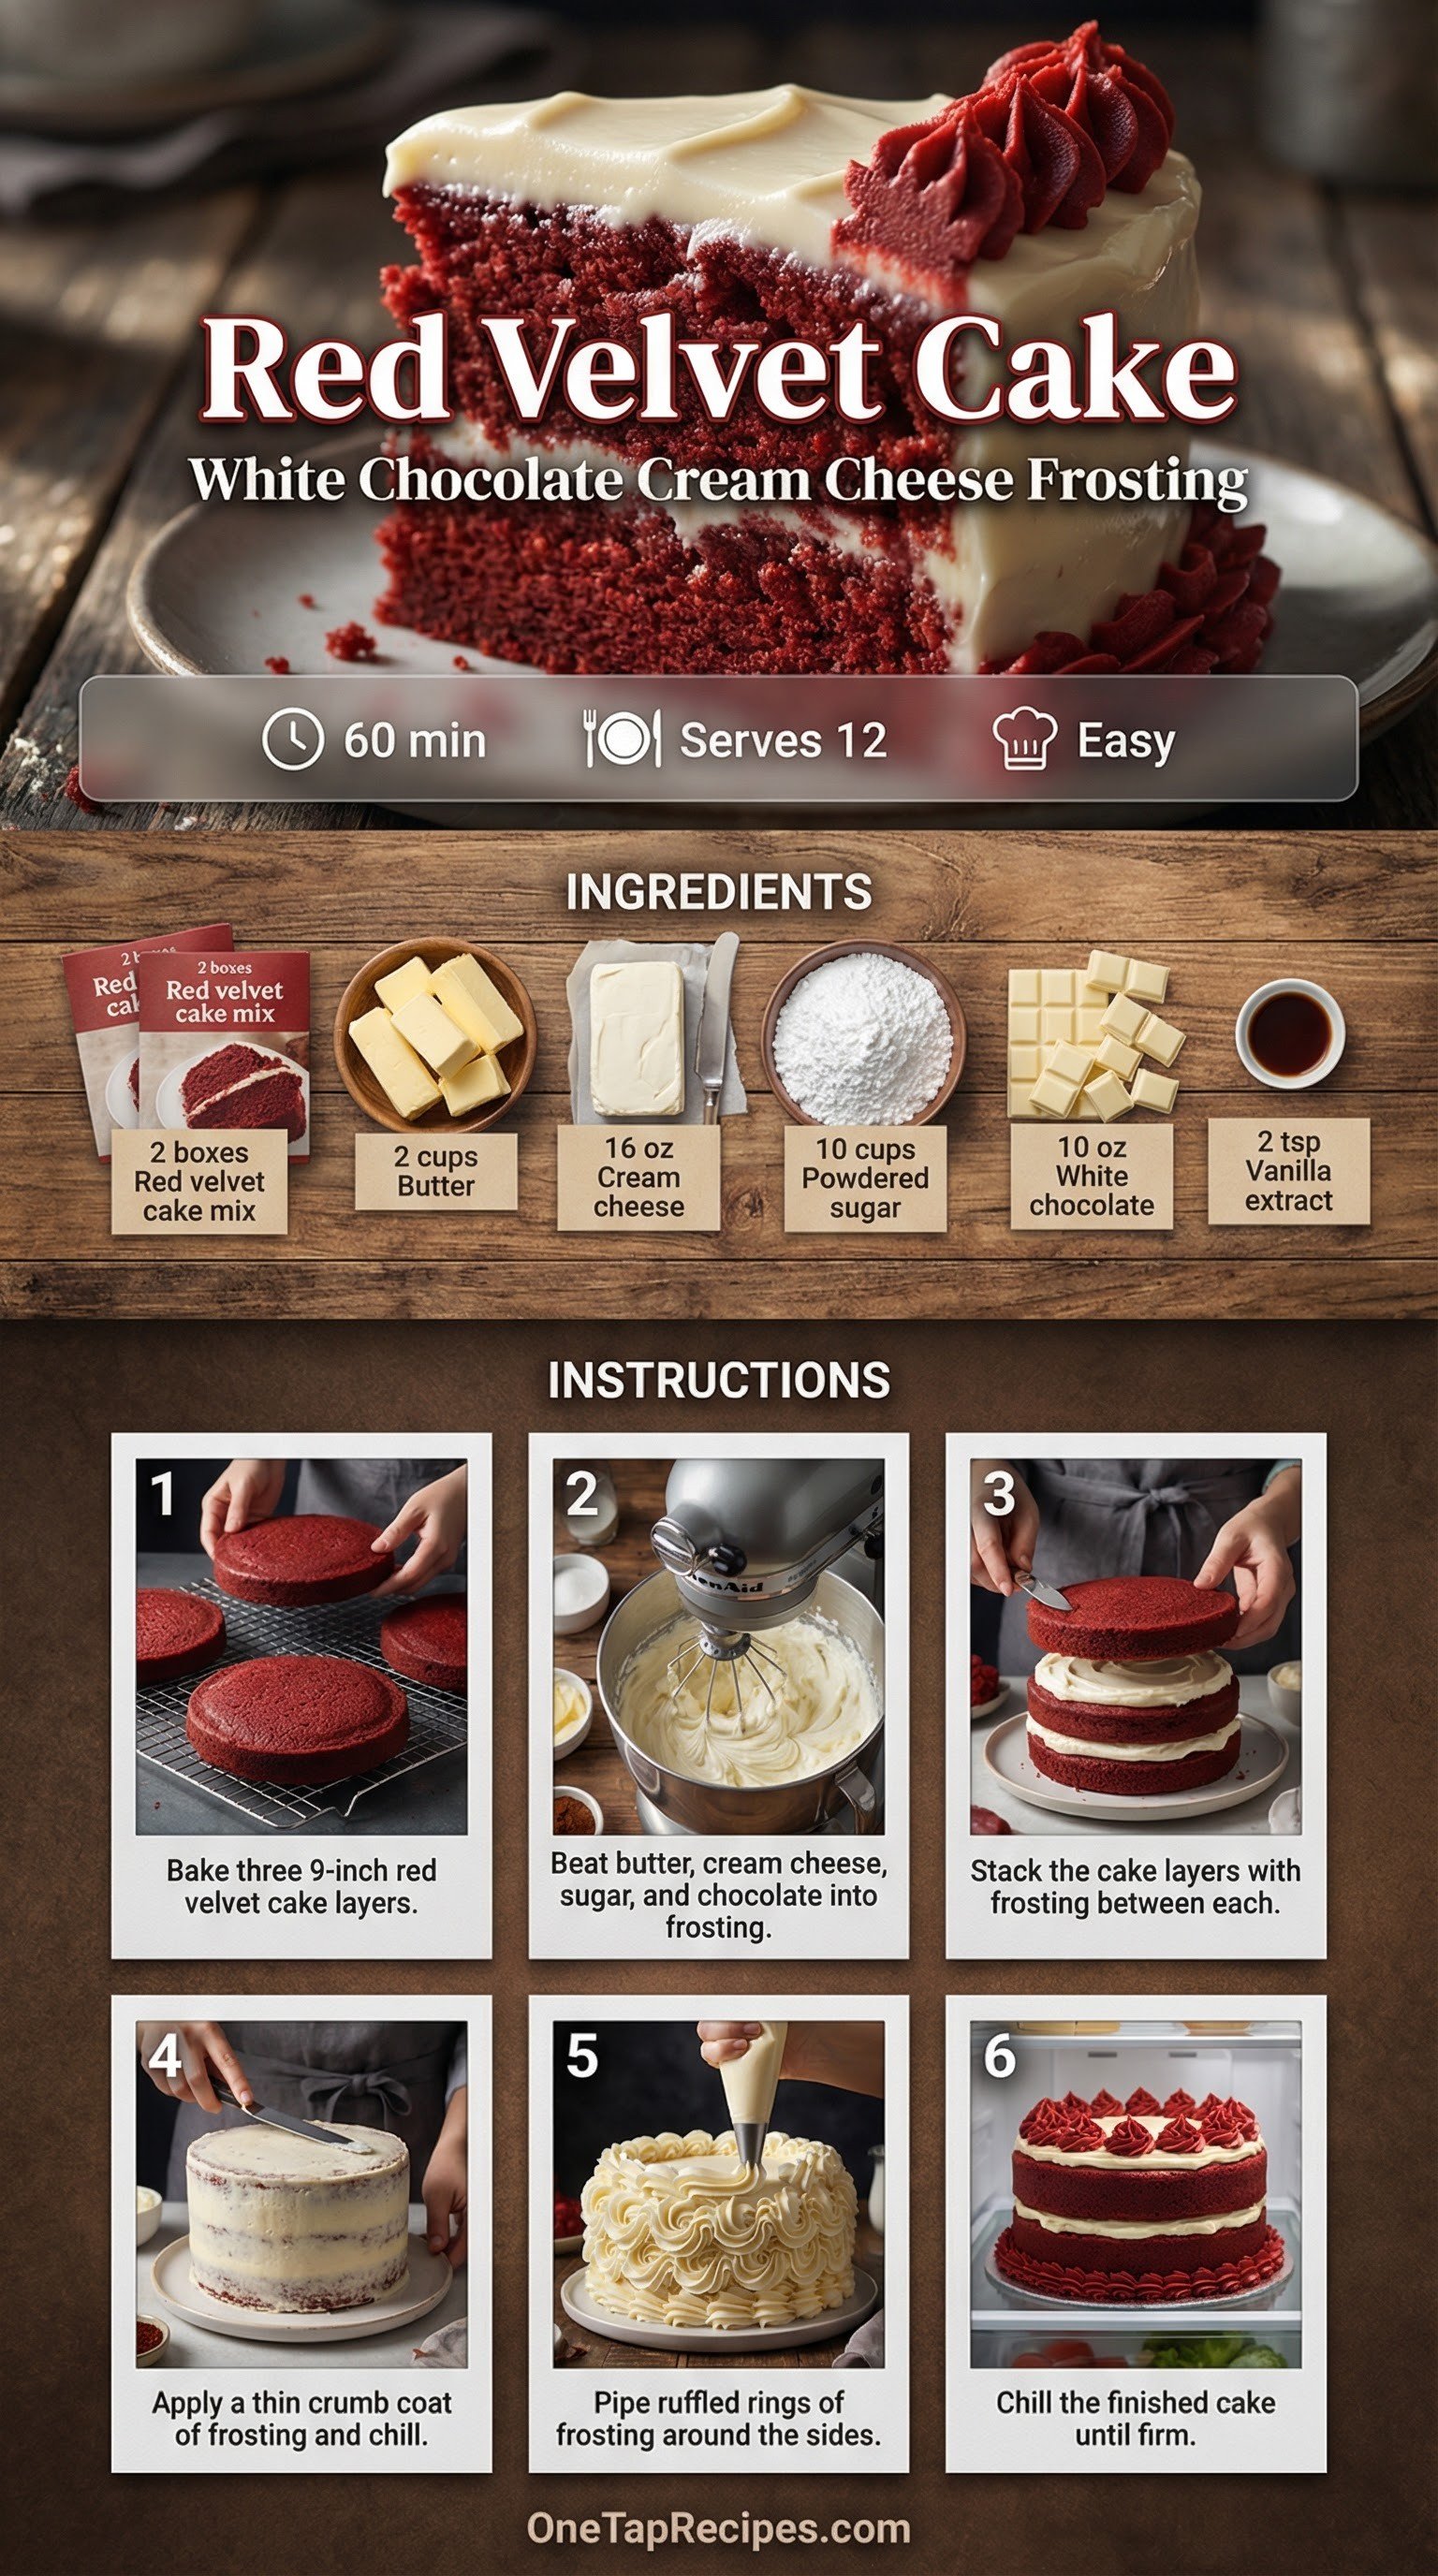
Red Velvet Cake with White Chocolate Frosting
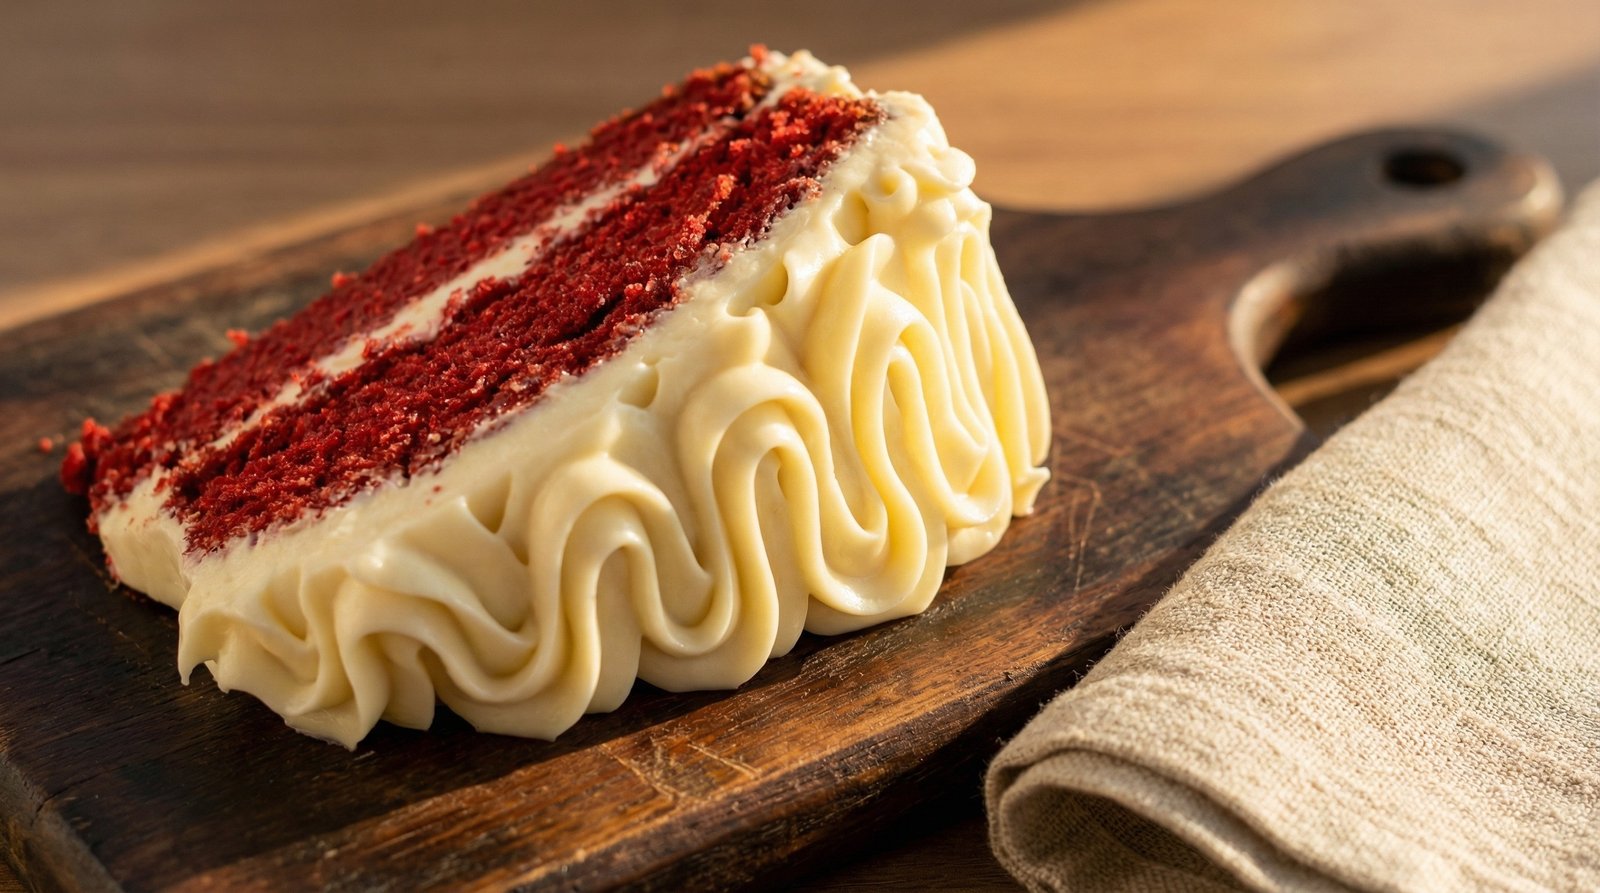
Sweet white chocolate meets tangy cream cheese in a rich frosting that transforms simple boxed cake mix into a stunning centerpiece. You'll get the soft, tender crumb of a classic Southern red velvet cake without spending all day measuring dry ingredients. The homemade frosting pipes beautifully into elegant ruffles, but it looks just as impressive smoothed out for a casual finish. It's a foolproof dessert that always steals the show at parties.
Equipment
- Oven
- Stand Mixer
- Cake Pan
Ingredients
- 2 (15¼-oz.) pkg. red velvet cake mix (plus ingredients listed on box for preparing cake)
- 2 cups unsalted butter, softened
- 2 (8-oz.) pkg. cream cheese, softened
- 10 cups unsifted powdered sugar
- 10 oz. white chocolate, melted and cooled slightly
- 2 tsp. vanilla extract
Instructions
- 1Heat the oven to 350°F. Make the cake batter following the instructions on the boxes. Pour the batter equally into three 9-inch round cake pans coated with baking spray.
- 2Bake the cakes for about 25 minutes, or until a wooden pick inserted in the middle comes out clean. Let them cool in the pans for 10 minutes. Turn the cakes out onto wire racks to cool completely for roughly 45 minutes. Don't frost warm cakes, or the frosting will melt and slide.
- 3Mix the softened butter and cream cheese in a stand mixer with a paddle attachment on medium speed for about 2 minutes until smooth.
- 4Turn the mixer to low speed and slowly incorporate the powdered sugar, melted white chocolate, and vanilla extract. Raise the speed to medium-high and whip for about 2 minutes until the mixture becomes fluffy.
- 5Set a cake plate on a revolving stand. Place the first cake layer on the plate and cover the top with 1 1/4 cups of frosting. Repeat with the next two layers, using 2 1/2 cups of frosting total for those layers.
- 6Use a large offset spatula to apply a thin, 1-cup layer of frosting around the entire outside of the cake to lock in the crumbs.
- 7Press an offset spatula or the back of a spoon lightly into the outer edge of the frosting on the top layer. Rotate the cake to form a spiral design in the frosting, working your way toward the middle. Transfer the cake to the refrigerator and chill for about 30 minutes until the frosting sets.
- 8Transfer the remaining frosting into a piping bag equipped with a petal tip. Place the chilled cake back on the revolving stand and position the piping bag so the thin end of the tip points straight up.
- 9Begin at the top edge of the cake and rotate the stand while piping a continuous ring, shifting the bag up and down slightly to form a ruffle. Pipe a second ruffled ring just below the first one, letting the edges overlap slightly.
- 10Continue this piping method down the sides of the cake, overlapping each new ring until you cover the bottom edge.
Notes
- Storage: Keep the frosted cake in the refrigerator for up to 5 days. Let it sit at room temperature for 30 minutes before serving.
- Make ahead: You can bake the cake layers a day in advance. Wrap them tightly in plastic wrap and store them at room temperature until you're ready to frost.
- Tip: If your kitchen is very warm, chill the frosting for 10 minutes before piping the ruffles so they hold their shape.
- Temperature warning: Keep the frosting cool before serving, as the cream cheese and white chocolate can soften and melt in warm environments.