1 / 1
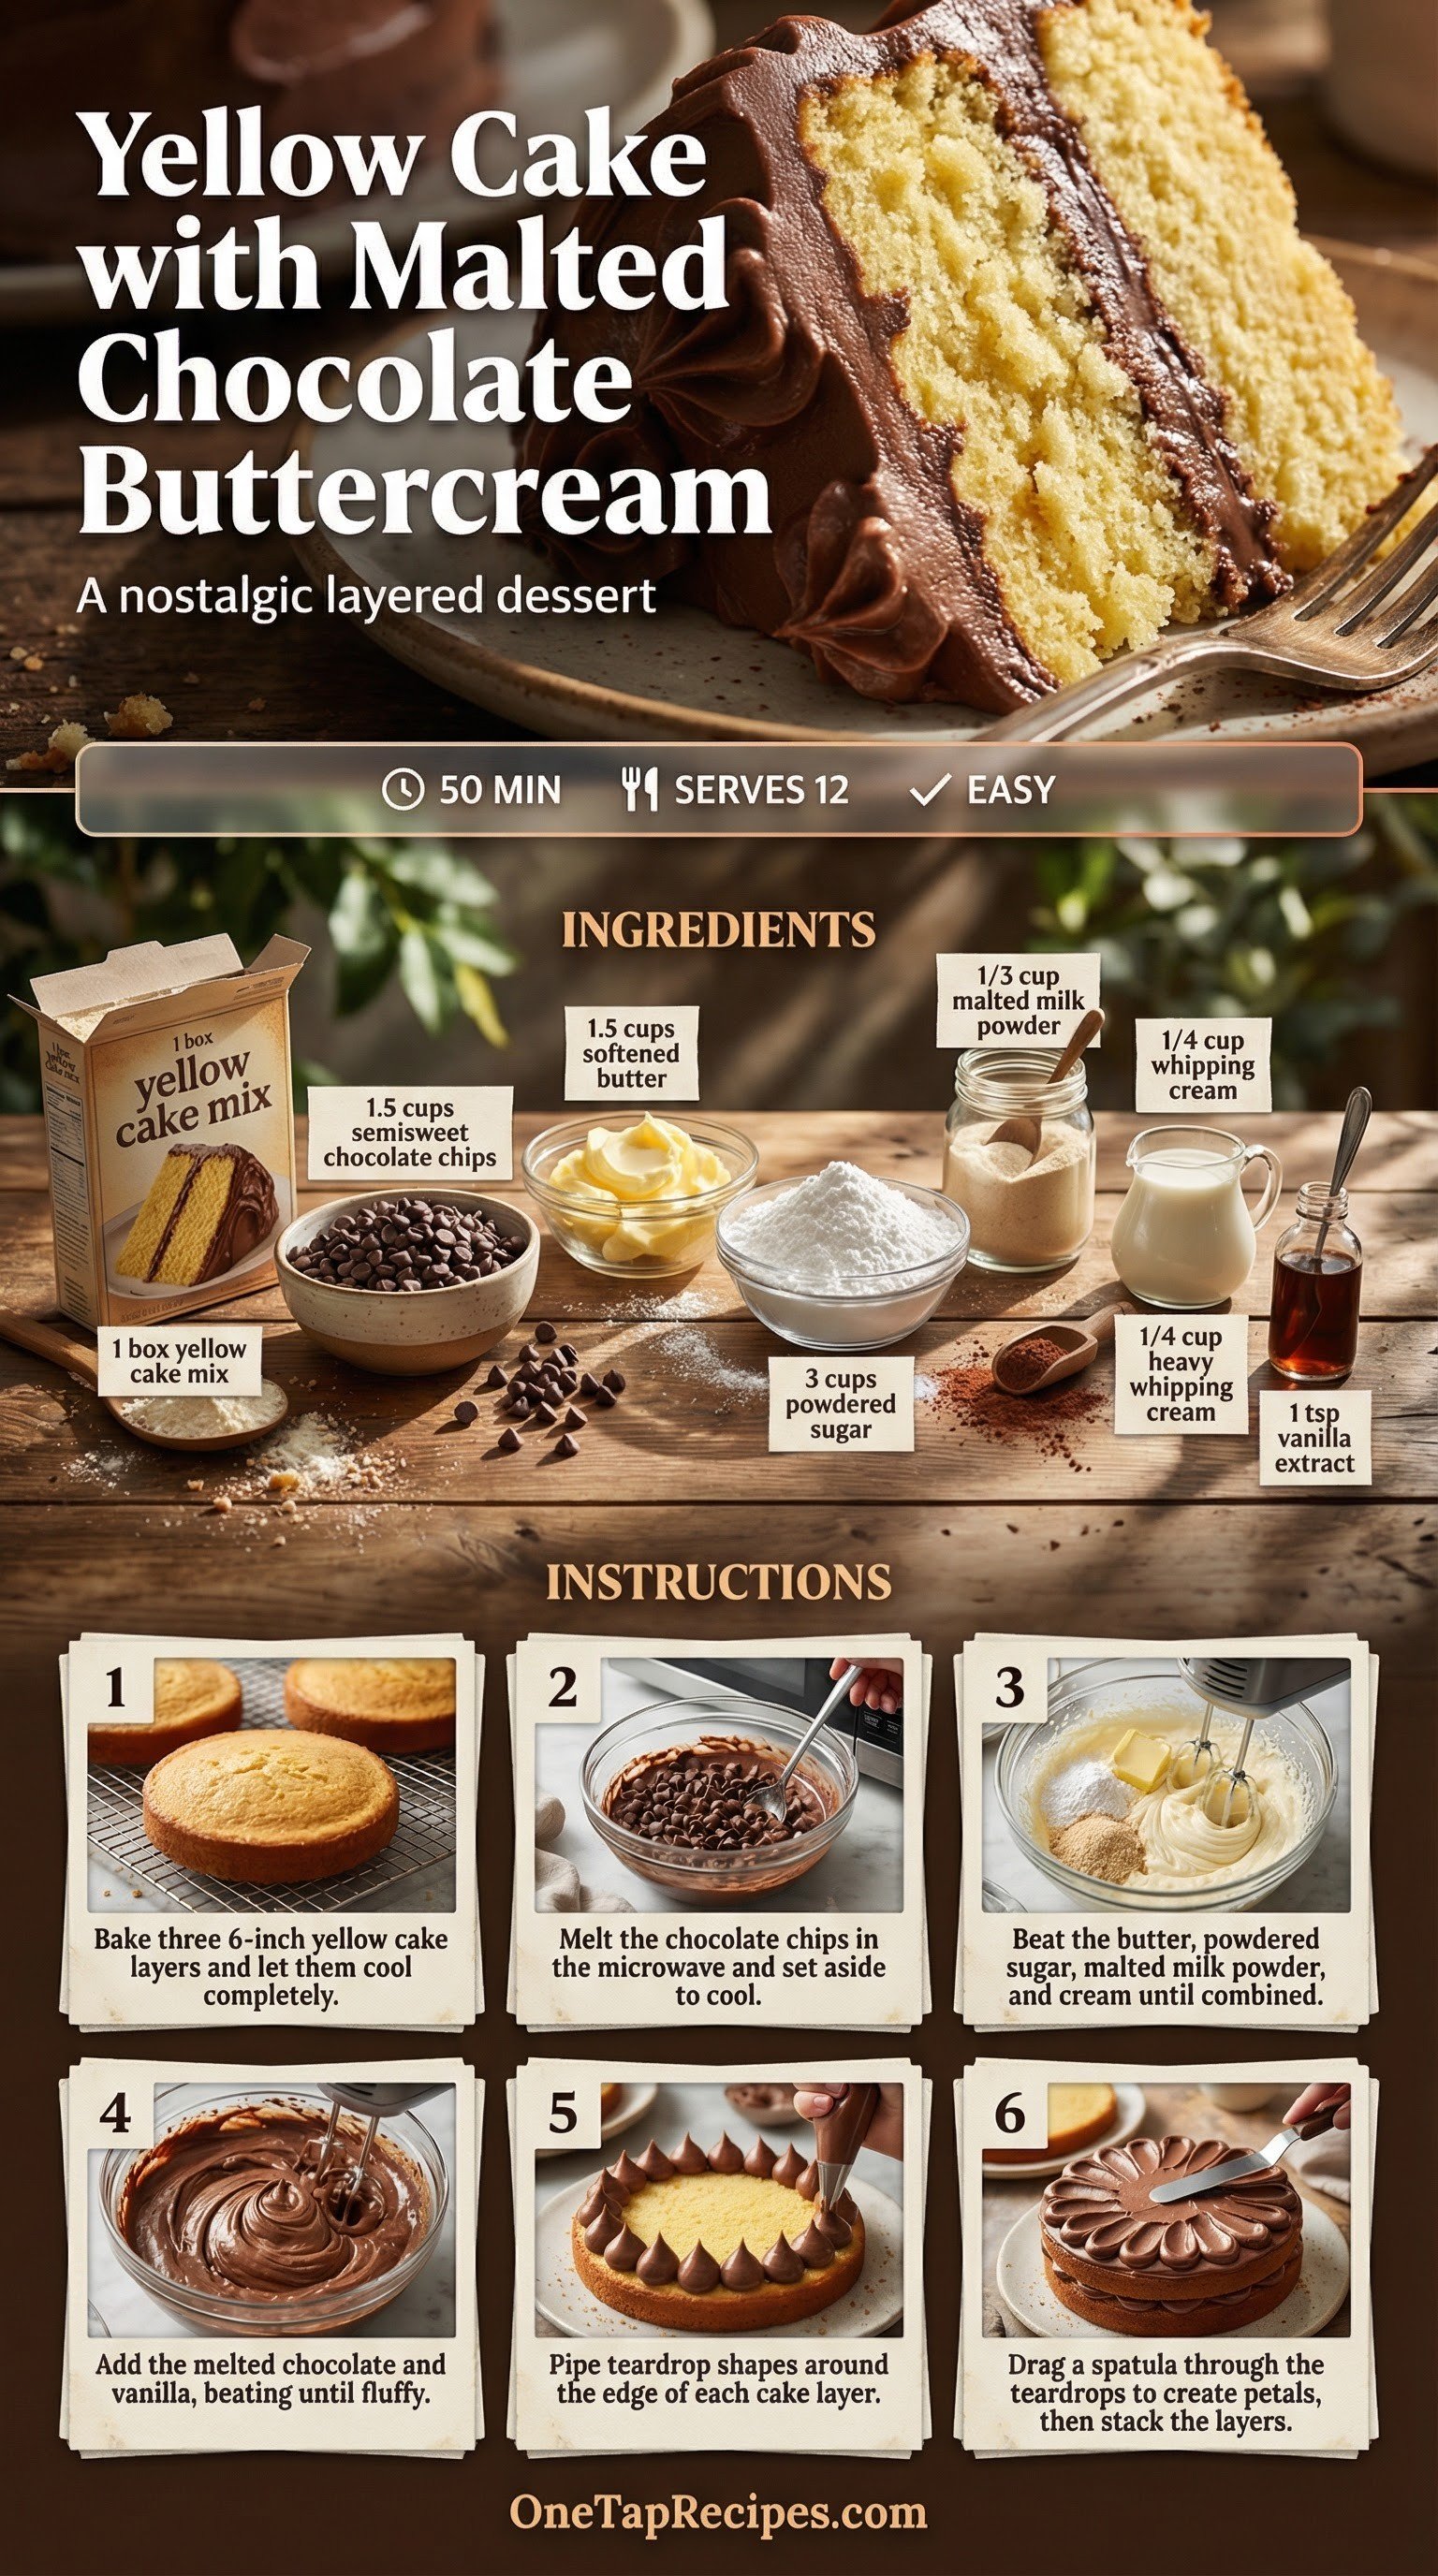
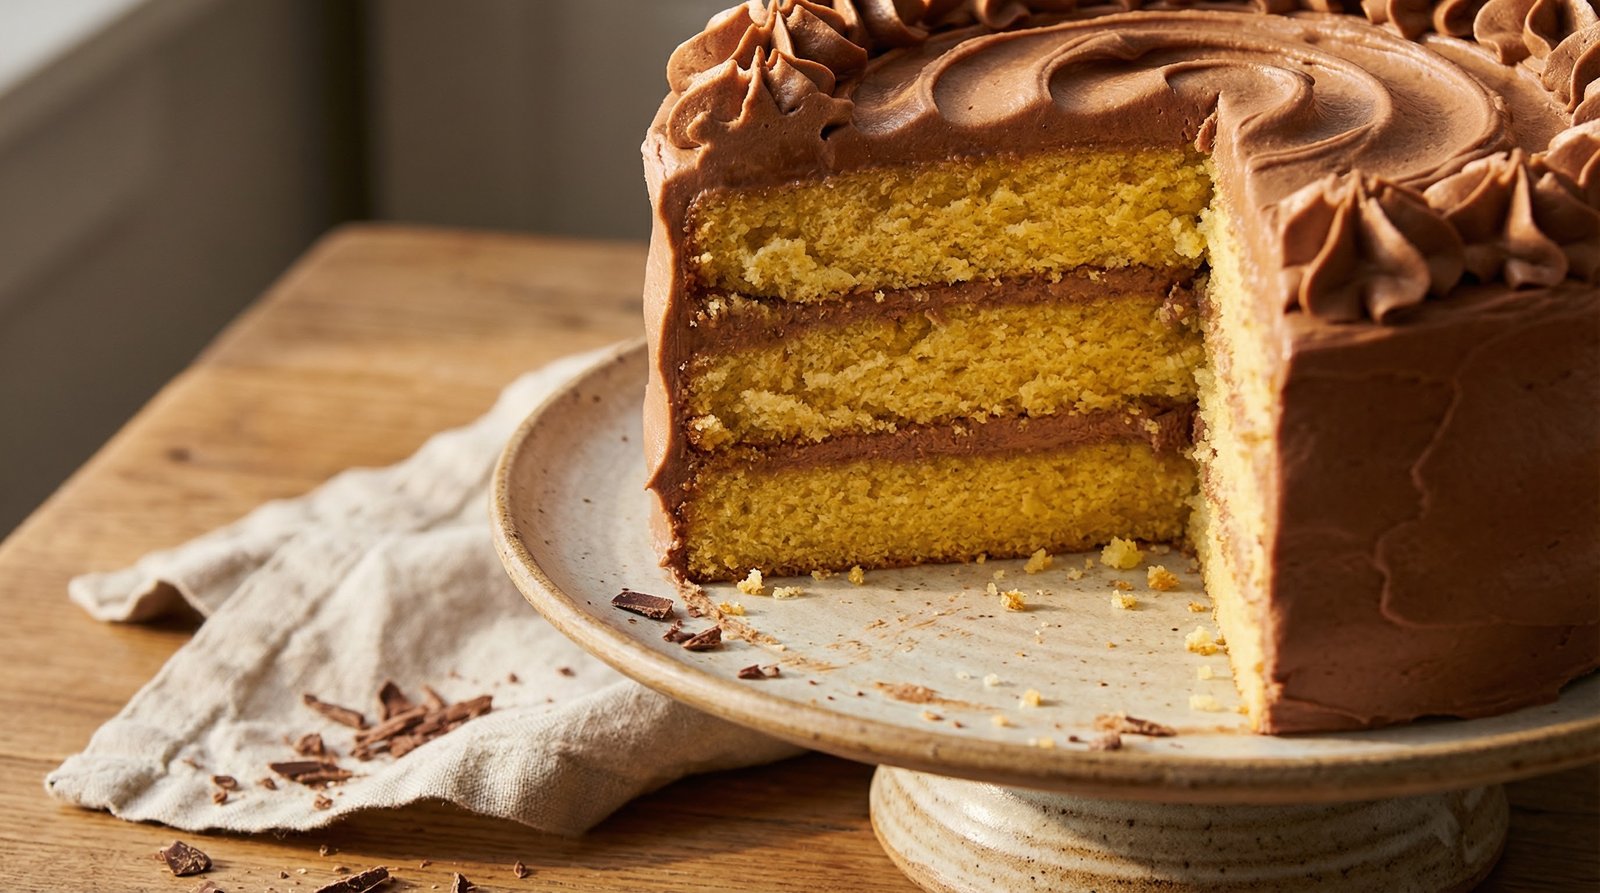
Yellow Cake with Malted Chocolate Buttercream
Malted milk powder stirred into the chocolate buttercream gives this layer cake a retro diner quality that plain chocolate frosting never quite achieves. A boxed yellow cake mix forms the base, while melted semisweet chocolate chips fold into the frosting alongside heavy cream and powdered sugar for a spreadable, glossy finish. The whole thing comes together in just under two hours and serves 12. Pipe it into swirls or spread it thick — either way the malt flavor carries through every slice.
Equipment
- Oven
- Microwave
- Stand Mixer
- Cake Pan
Ingredients
- 1 (15¼-oz.) pkg. yellow cake mix (plus ingredients listed on box for preparing cake)
- 1½ cups semisweet chocolate chips
- 1½ cups butter, softened
- 3 cups unsifted powdered sugar
- ⅓ cup malted milk powder
- ¼ cup heavy whipping cream
- 1 tsp. vanilla extract
Instructions
- 1Preheat the oven to 350°F. Prepare the yellow cake mix according to the package directions, then divide the batter evenly among three 6-inch round cake pans coated with baking spray.
- 2Bake for 20 to 23 minutes, until a wooden pick inserted into the center of the cakes comes out clean. Let the cakes cool in the pans for 10 minutes before inverting them onto wire racks to cool completely, about 45 minutes.
- 3Microwave the chocolate chips in a microwave-safe bowl on high power for about 90 seconds, stopping to stir every 30 seconds until melted. Set aside to cool for 10 minutes.
- 4Beat the softened butter in a stand mixer fitted with a paddle attachment on medium speed for about 2 minutes, until smooth.
- 5Turn the mixer to low speed and gradually add the powdered sugar, malted milk powder, and heavy whipping cream, beating until just combined.
- 6Pour in the melted chocolate and vanilla extract, then beat on medium-high speed for about 3 minutes until fluffy.
- 7Transfer the frosting into a large piping bag and snip a half-inch tip off the end.
- 8Create frosting flower petals on the top side of one cake layer. Start along the outer edge and pipe a 1-inch circular dollop, then drag the piping bag toward the center of the cake while squeezing to form a teardrop shape.
- 9Repeat this piping process seven more times around the top edge of the cake layer.
- 10Pull a small offset spatula lengthwise through the center of each frosting teardrop from the outer circle toward the center to create a petal effect.
- 11Dip the spatula in warm water and wipe it dry before dragging it through each teardrop. This prevents the frosting from sticking and tearing. Repeat the entire frosting process on the remaining two cake layers, then carefully stack them.
- 12Use the offset spatula to smooth the frosting in the middle of the top cake layer where the petals meet, spreading it into a flat circle to form the center of the flower design.
Notes
- Storage: If you frost the cake using the exposed-side flower design, you'll have leftover buttercream. Store any extra frosting in the freezer for up to 3 months for your next baking project.
- Make ahead: The cake layers can be baked, cooled, and wrapped tightly in plastic wrap up to a day in advance before frosting.
- Tip: Ensure the melted chocolate is completely cooled before adding it to the buttercream, otherwise it'll melt the butter and ruin the frosting's fluffy texture.